Omilayers
Note
This section belongs to the extended functionality of fresfolio and requires the python package omilayers. Check Optional packages on how to install it.
omilayers is a Python packages for data management, where data are stored in tables called layers. Please refer to the Github repository of omilayers for more information. fresfolio uses omilayers as a way to create and render stored data in the form of tables.
Render stored data
To render stored layers the following syntax can be used:
\begin{omitable}
project: PROJECT
file: dir1/dir2/foo.db
\end{omitable}
project: it refers to the name of an existing project and is optional. If omitted, the current project is considered.file: it refers to the path of an existing omilayers database. The path should be relative to the root directory of the project.
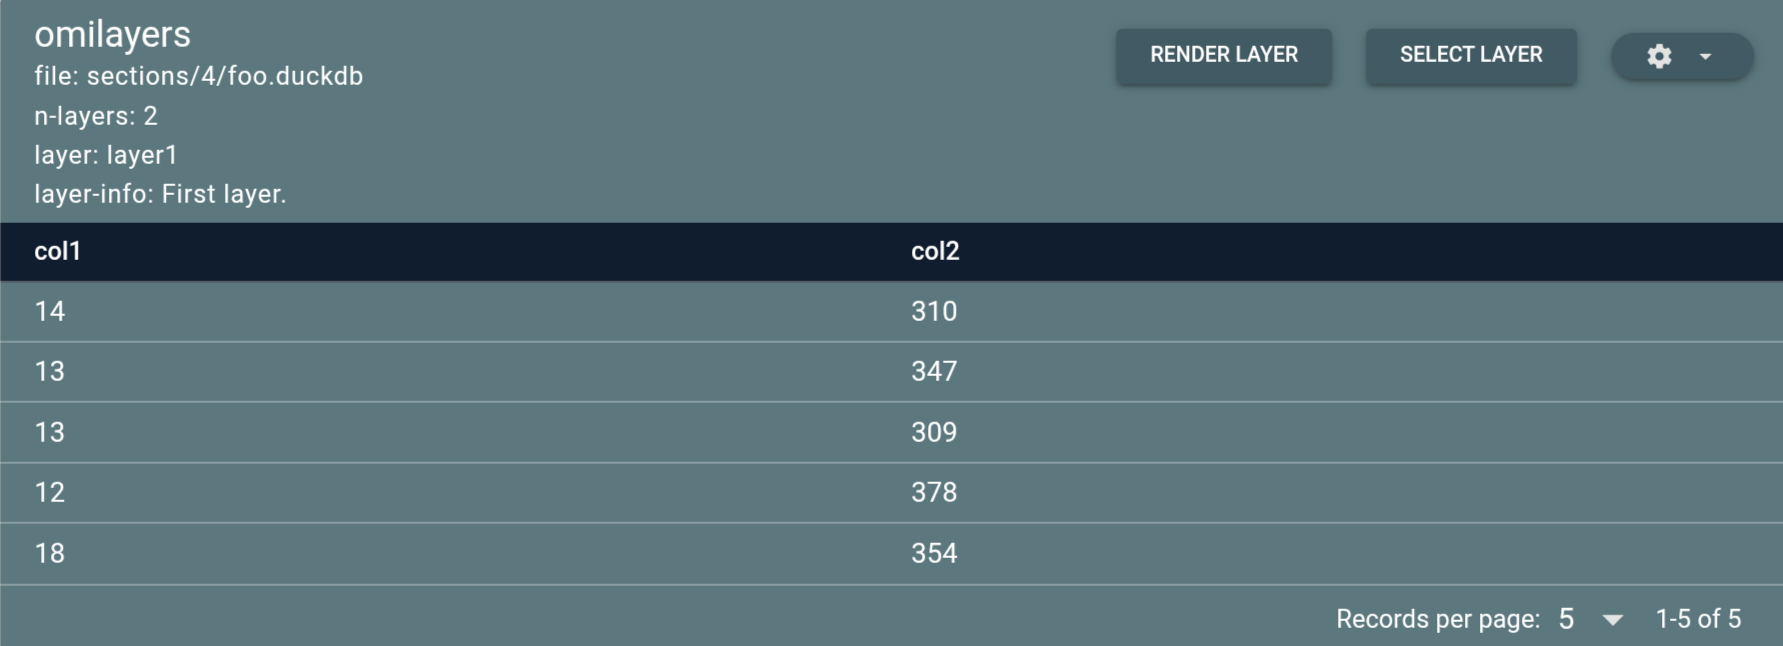
HTML rendering

Pressing the button “SELECT LAYER” a dialog pops-up to select an existing layer to render as table:
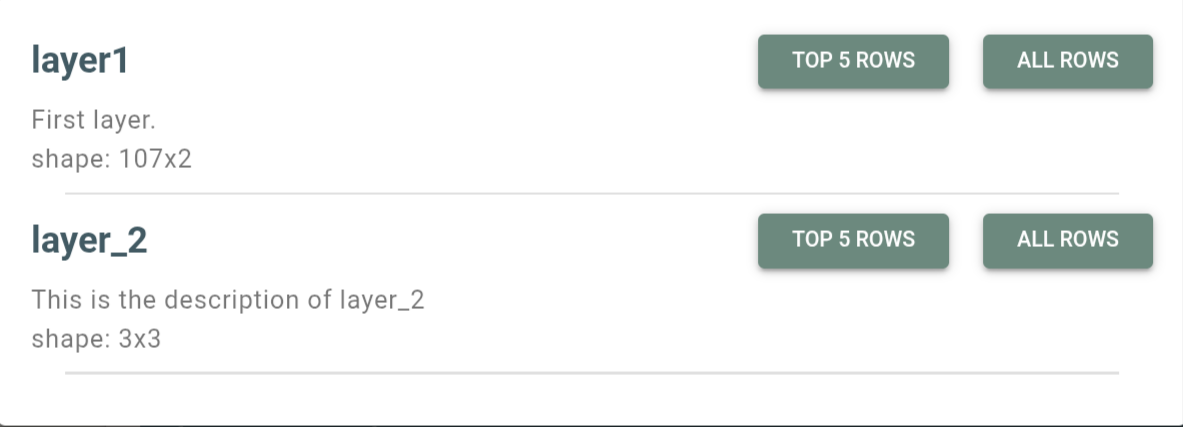
The user needs to select a stored layer and whether all or the top 5 rows will be rendered.
Note
Avoid rendering very large layers as this will impact the performance of the browser.
The user can also set a layer as the default layer:
\begin{omitable}
project: PROJECT
file: dir1/dir2/foo.db
layer: layer1
nrows: 5
\end{omitable}
layer: the name of the stored layer to use as default layer.nrows: the number of rows to render from the default layer. To render all rows setnrows: all.

this way the user have the option to directly render the default layer or select a different layer to render.
Create new layers
Pressing the menu button on the top right corner:

shows a menu with the option “Create new layer”. Selecting this option a dialog pops-up to create the layer:
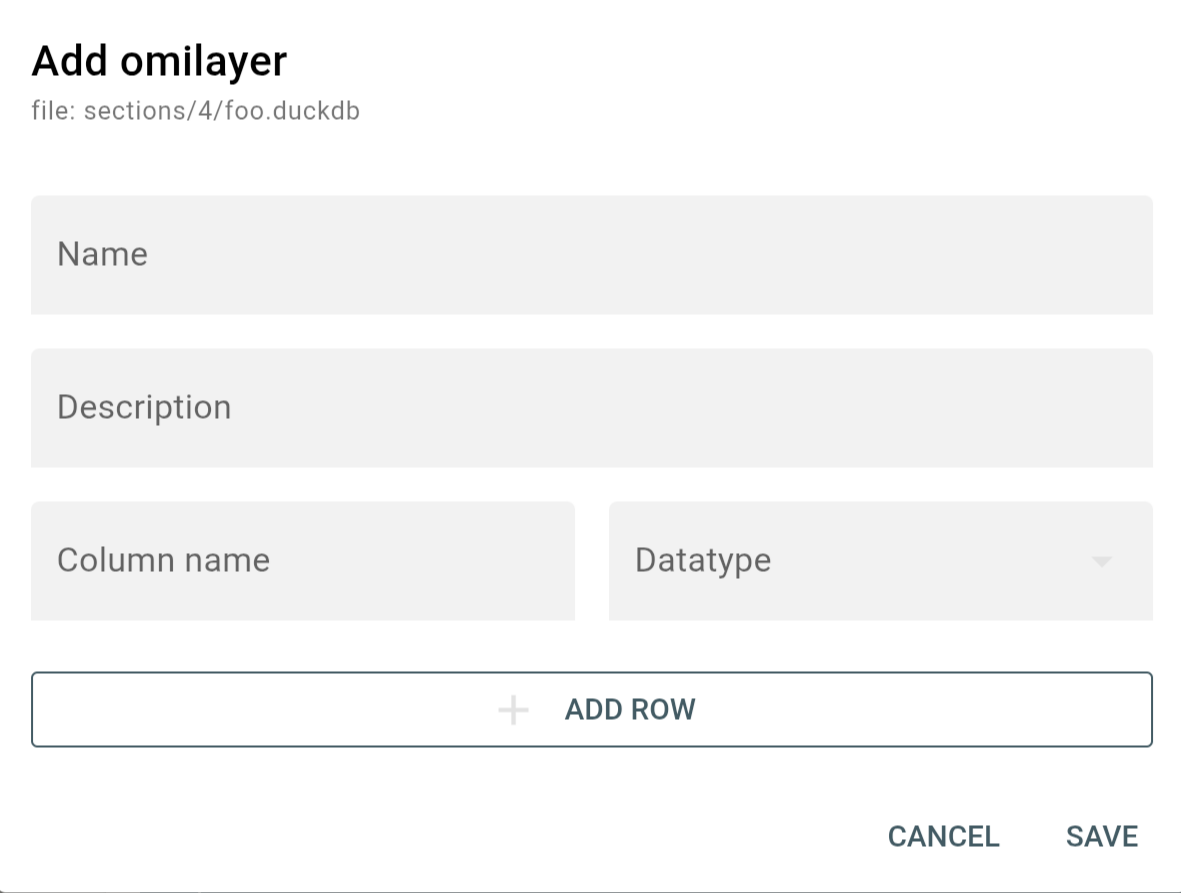
Pressing the button “ADD ROW” will add a new row to the form for specifying a new column. Columns can be of datatype “TEXT”, “INTEGER” or “FLOAT”.
Add data to layer
After selecting a layer, two options become available in the menu for adding data to the selected layer:
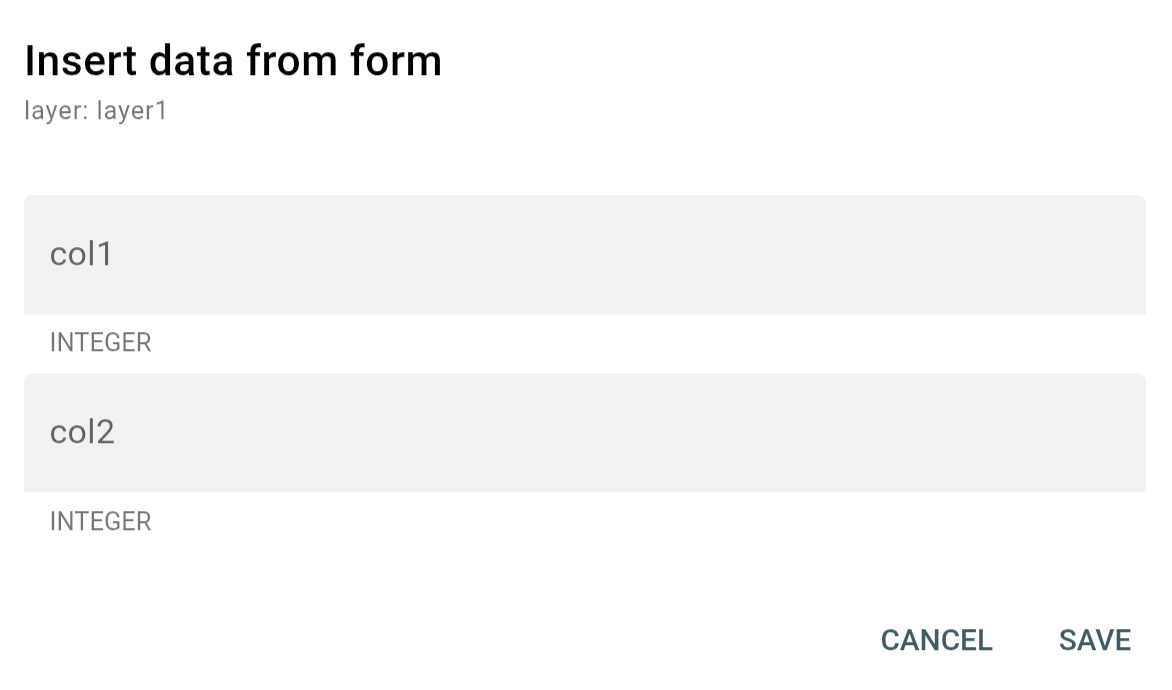
1. Insert data from form to layer
Choosing this option a dialog pops-up with as many inputs as the number of the layer’s columns.
2. Insert data from file to layer
Choosing this option a dialog pops-up to upload data from a file to the selected layer.
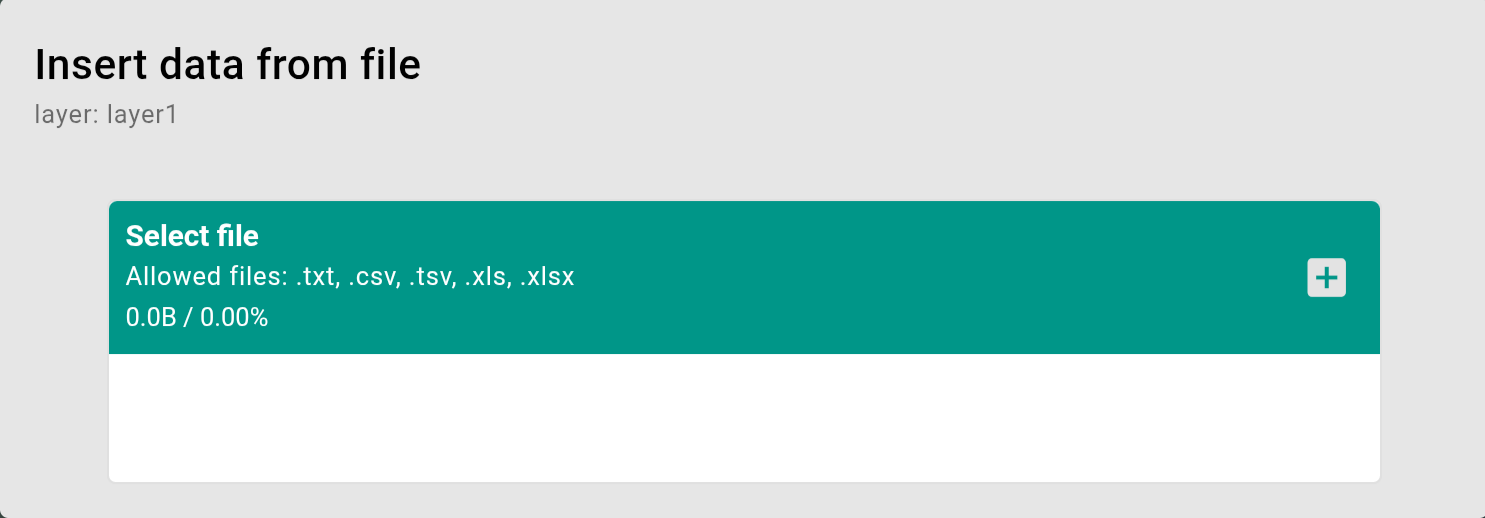
The uploaded file should meet the following requirements:
first row should be the column names of the layer (order does not matter).
values should match the datatype of their corresponding columns.